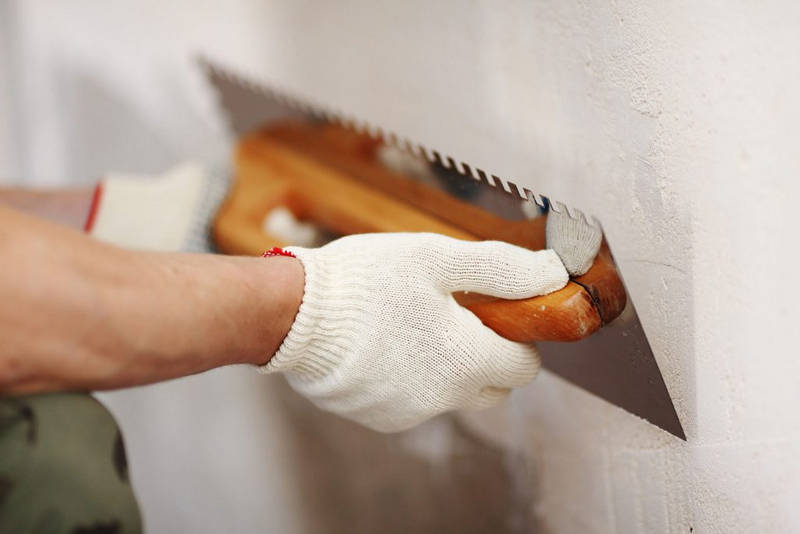
For leveling the walls, it is best to first cover them with drywall. This task is challenging, but despite its difficulty, it is worth doing because it provides insulation and wall isolation, especially when placing foam and insulation beneath the drywall sheet.
Some people are wary of using drywall because it has a paper base—they doubt its suitability for wallpapering and plastering. Questions about wallpapering drywall frequently appear on internet forums. The answer is clear to a professional home renovator—of course, you can, as long as you follow the manufacturer’s standards.
Non-woven, textile, paper, vinyl, and even liquid wallpaper (decorative plaster) can be applied to drywall. Now, let’s delve into how this can be done.
Preparing for Work
Even though the surface of the drywall is quite smooth, it still needs to be prepared for wallpapering.
First, fill in the joints and seams between the sheets with putty. Then, apply putty to the screw heads, as well as to the areas where the drywall is attached to the wall or the guides. This step is crucial. The screws used for fastening are made of steel and, unfortunately, are prone to corrosion. Therefore, they must be painted before applying putty to the heads.
Once the putty has dried, a primer is applied, which is suitable for subsequent painting or wallpapering.
Why is Priming Necessary?
- Primer fills micropores, preventing the drywall sheet from absorbing the adhesive. This ensures that the adhesive remains on the surface, providing excellent adhesion (the bonding of different surfaces), which contributes to the economical use of materials.
- When it comes time to remove outdated wallpaper, the process will be quite simple because the primer prevents direct contact between the adhesive and the drywall. If you apply the wallpaper directly onto the sheet, it may come off in places along with the drywall.
Once the primer has dried, smooth out any rough spots, spatula marks, and other imperfections using fine-grit sandpaper, and then remove the dust by brushing down the walls.
Wallpaper Installation
Now that the drywall is installed, you can start wallpapering the walls. To ensure the job is done easily and quickly, make pencil marks on the wall at intervals equal to the width of the wallpaper. This will help you determine the number of strips needed for each wall and how they should be positioned. After marking, you can start cutting the rolls. If the wallpaper has a pattern, be sure to align the design at the edges of adjoining strips so that the seams are not visible.
Read the instructions for using the glue, which are always provided on the packaging, and follow them precisely. Powdered glue should be mixed with water and left to stand for a while. It is important to adhere to the required proportions.
- Wallpaper is applied from the center to the edges, from top to bottom, but not from the corner.
- Apply the adhesive with a dry roller or a clean brush, both on the marked section of the wall and the backside of the wallpaper.
- Carefully smooth the strip of wallpaper on the wall until all wrinkles are completely removed. You can use a wallpaper smoothing tool or a cloth for this purpose.
- The wallpaper strips are applied edge to edge, and the seams can be carefully brushed with a fine brush.
- The remnants and scraps of wallpaper are best used for the area above the door, carefully adhering them to ensure the pattern aligns seamlessly with the main design on the adjacent strips of wallpaper.
- Be very careful when applying wallpaper to corners — start with the corner and the top, and then move on to the rest of the wall.
- It is crucial to turn off the electricity in the room or area when unscrewing outlets and applying wallpaper over the openings.
- When wallpapering around an electrical outlet, use a utility knife to make crisscross cuts, then cut out an opening for the outlet.


